Breaking My Camera (to make it better): A hardware hacking story
Hey there!
I'm an electronics engineer who's dabbled in a bit of everything, including full-stack development and web3 technologies. I love building cool stuff and am always looking to connect with other like-minded professionals. When I'm not tinkering with new projects, you can find me scouring the internet for the latest and greatest in tech.
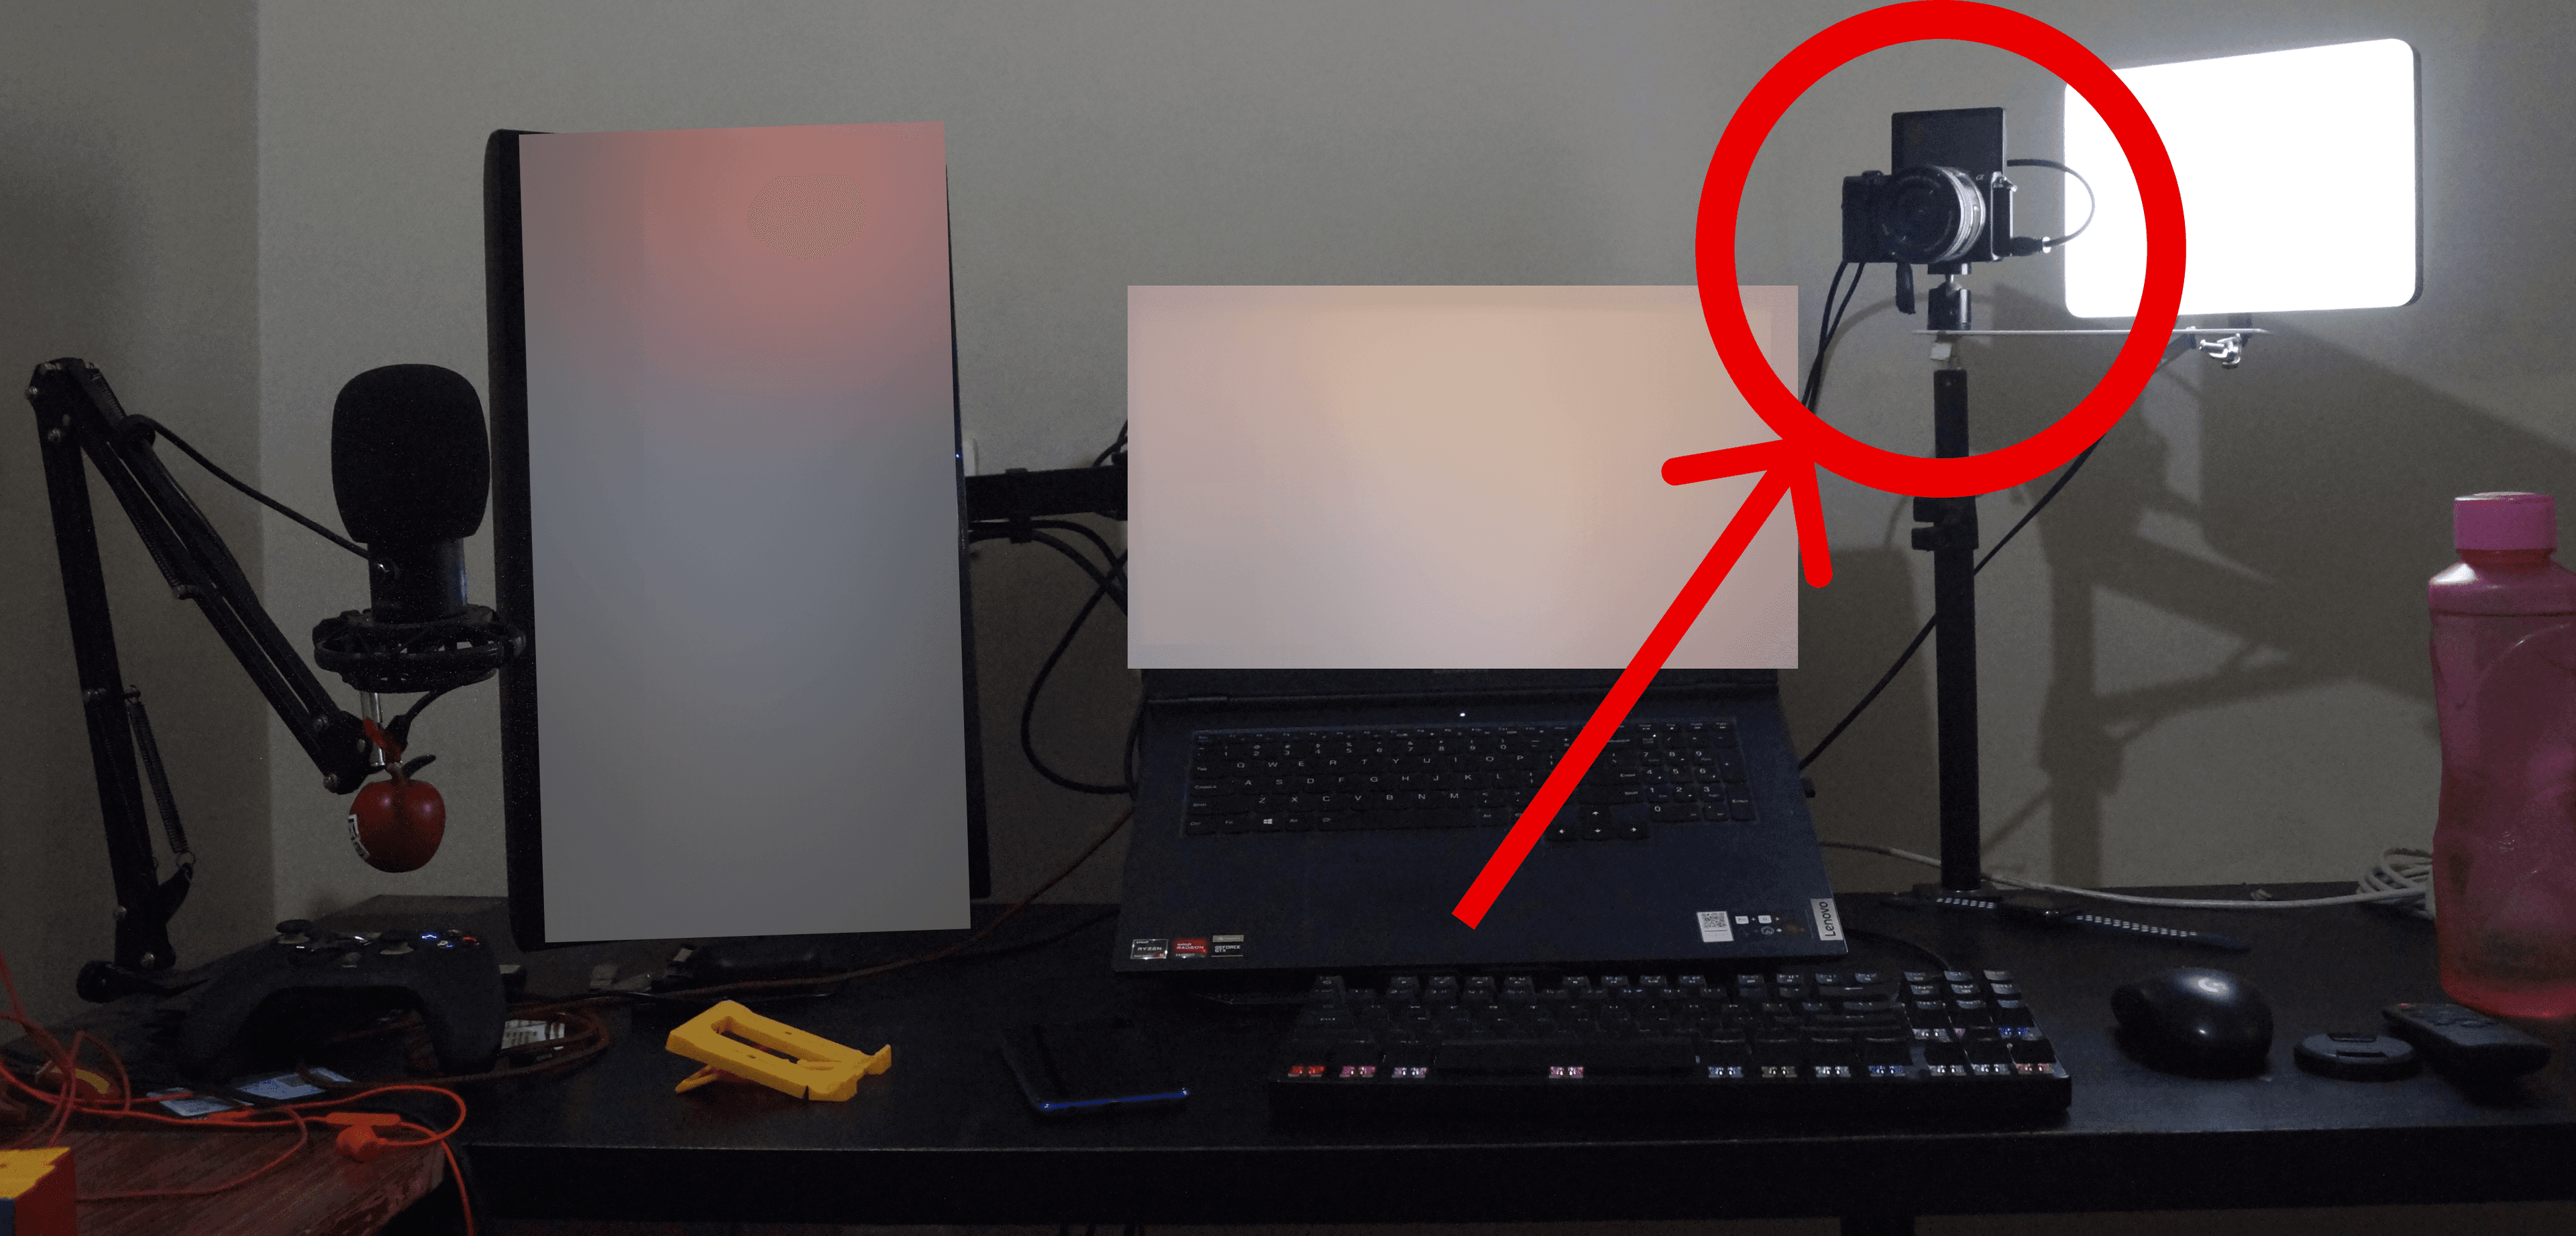
I've been using a hand-me-down Sony a5000 as my webcam for nearly 4 years. There was one massive pain point though: every time I needed to focus, adjust zoom, or simply turn it on, I had to physically lean over my desk like a caveman and touch the camera.
This camera is from a different era (released in 2014), so it lacks remote control capabilities, especially when used as a webcam.
So I did what any reasonable person would do - I cracked it open and took matters into my own hands.
Time for a DIY Solution
First, I needed to understand how this camera's controls worked. After finding a repair manual online and watching a helpful YouTube video, I was able to disassemble it without any issues.

After studying the repair manual, I identified the circuit responsible for all the functionality I wanted to control. All the buttons and switches that controlled power, zoom, and focus were on a single flexible PCB (RL-1025 FLEXIBLE BOARD).


Initially, I considered intercepting the signals at the mainboard where the flex cable connects, but that was beyond my skill level due to the micro-soldering required.
So I chose the more straightforward path and modified the flexible board directly. Here's what I did:
Desoldered the original buttons (zoom, power, and focus)
Soldered 5 wires to the flex board (4 to the pads left from the previous step + one for ground)
Routed the wires through the hole where the shutter button was supposed to be
Reassembled the camera after testing for any short circuits
Now we had 5 wires to work with. By connecting any of the 4 function wires (zoom in, zoom out, power, focus) to ground, we could mimic a button press. That's pretty cool, but not particularly helpful yet - you can't just hot-wire the camera like you're trying to steal a car every time you want to turn it on.

So I connected the wires to a 4-channel relay that could be controlled by any micro-controller. I chose an ESP32-based micro-controller for two reasons:
It would let me control the camera over WiFi
The ESP32-C3 Super Mini has a very small footprint (18mm x 22mm) and comes with a built-in ceramic antenna
After writing some code for the micro-controller, I set up a simple web dashboard to control the relays over the network.

Going the extra mile
After adding all these controls to the camera, it would have been a shame to still need to get up to adjust the angle once it was set up. So why not add some pan and tilt functionality as well?
I designed and 3D printed a simple 2-axis gimbal using two servo motors. This addition allows the camera to rotate both horizontally and vertically, all controlled through the same ESP32 board and web interface.
The Final Result

Is this janky? Maybe a little. But does it work? You bet it does. The best part? Every time someone asks about my camera setup on calls, I get to say, "Oh yeah, I built that myself."
The total cost for the project was less than Rs1500 ($17.73), not including the cost of the camera.
NOTE: If you're opening any camera that has flash functionality, make sure to discharge the capacitors first. If you shock yourself, it hurts really badly and can potentially cause lasting damage.
What's Next?
I want to add side-to-side movement. I have some spare aluminum extrusion that I might use to create a gantry mechanism, adding an additional degree of movement.